How I Vibe Code using Cursor, My 10-Step Workflow for Mobile Apps
In this post, I'll show you exactly how I work. Step by step.
Over the last months, I’ve been building my apps with Cursor, and I noticed that I can create working prototypes and realise MVPs much faster than before even when the app is more complex.
In this post, I’ll show you exactly how I work. Step by step.
How I write my project descriptions, how I define screens and features, and how I give Cursor enough context so it can actually be useful.
This workflow helps me move fast at the beginning, get a complete first version of an app, and then focus on fine-tuning.
If you’re using Cursor (or thinking about it) and you want to build fast without constantly rewriting things, this might be helpful.
Why I Don’t Start Coding Right Away
Before using Cursor, I often started like this:
“Let’s build the first screen and see what happens.”
That can work for very small things. But for real apps, this approach usually breaks pretty fast.
With Cursor (and LLMs in general), context matters a lot.
If you don’t give enough context, the AI will fill in the gaps on its own. And that usually leads to messy code and wrong assumptions.
So instead of coding first, I always write first.
Step 1: A Detailed Project Description
The first file (markdown)I create is always a project description.
Most of the time, I create this together with ChatGPT and it includes things like:
- What problem the app should solve
- Who the app is for
- What value it provides
- The basic idea of the solution
- Which frameworks or technologies I want to use
This file gives Cursor a clear picture of the project.
It basically answers one simple question:
“What are we building, and why?”
Cursor can write code without this but the results are much better when it understands the product.
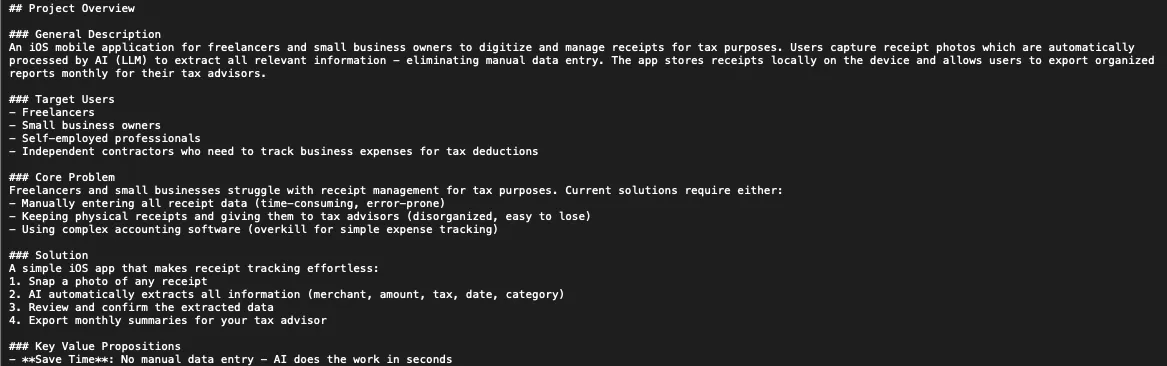
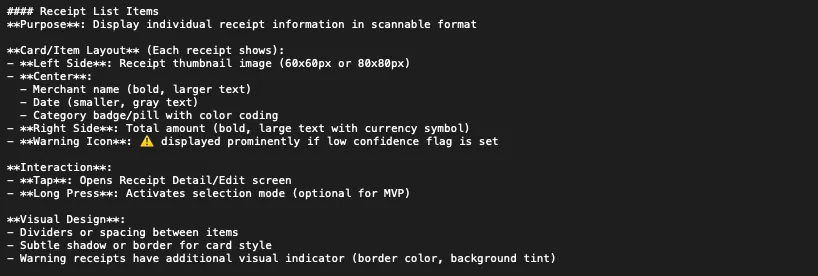
Step 2: Screens, Navigation, and User Flow
If I’m building a mobile app, the next step is screens and navigation.
I describe things like:
- Tabs (Home, Scan, Settings, etc.)
- Icons and labels
- Which screen opens first
- What each screen is supposed to do
After that, I go through each screen and describe:
- UI elements
- Buttons
- Dialogs
- Pickers
- How the screen should behave
This removes a lot of guessing later.
Cursor doesn’t have to imagine how the app should work it’s already written down.
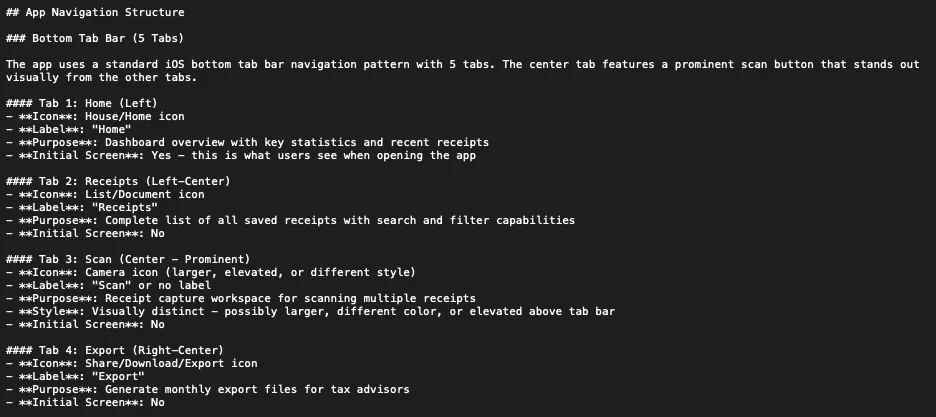
Step 3: Features and Functionalities (Very Explicit)
Next, I describe the features, but very explicitly. Not just what the feature is but how it works.
For example:
- What happens when the user taps a button
- Which permissions are needed
- What happens when something works
- What happens when something fails
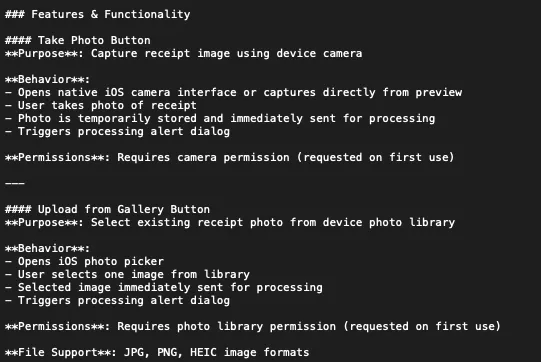
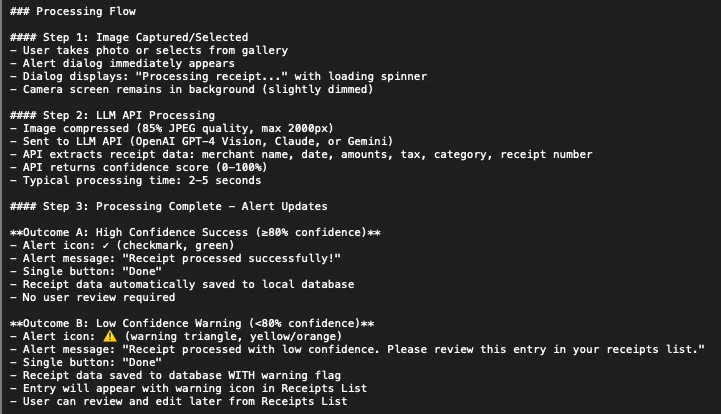
Step 4: Processing Flows for Core Features
This is one of the most important steps.
For the main features and screens, I write step-by-step flows, like:
- What happens first
- What runs in the background
- What the user sees
- How errors are handled
While writing this, I often notice:
- Edge cases I forgot
- UX problems
- Logical issues
Sometimes I fix design problems before writing a single line of code, just by thinking through the flow.
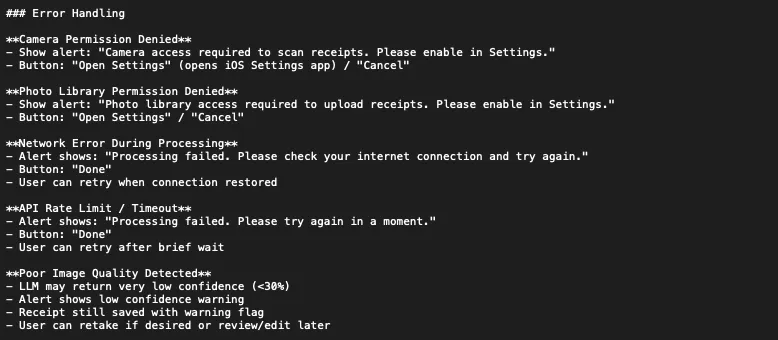
Step 5: UX, Feedback, and Error Handling
I also write down things like:
- Loading indicators
- Success and error messages
- Haptic feedback
- Retry behavior
These details are easy to forget, but they matter a lot. Cursor can only implement what you actually describe.
Step 6: Project Rules (Design and Technical)
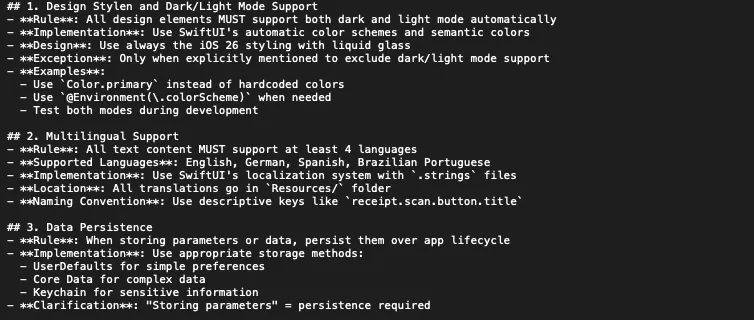
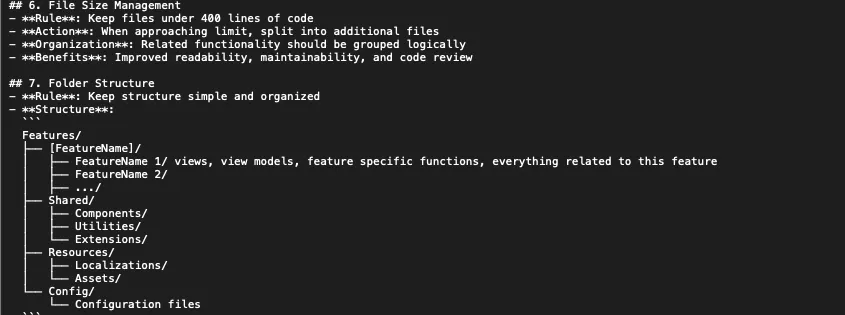
Now I create a file called Project Rules.
This is where I define things like:
- Light and dark mode support
- iOS (or Android) version and APIs
- Folder structure
- Naming conventions
- Localization
- Data storage rules
- Code quality expectations
This keeps the project consistent.
It also helps Cursor follow the same patterns everywhere, instead of doing something different in every file.
Step 7: Visualize Everything with Mermaid Flowcharts
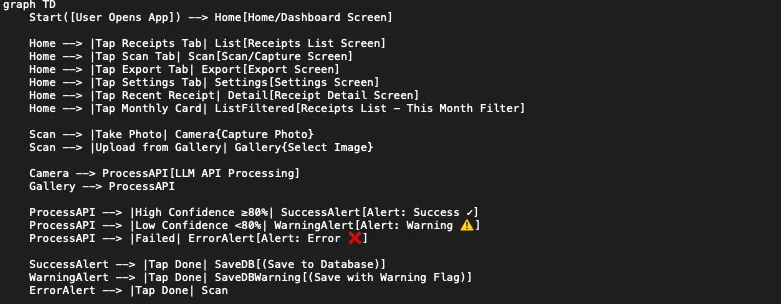
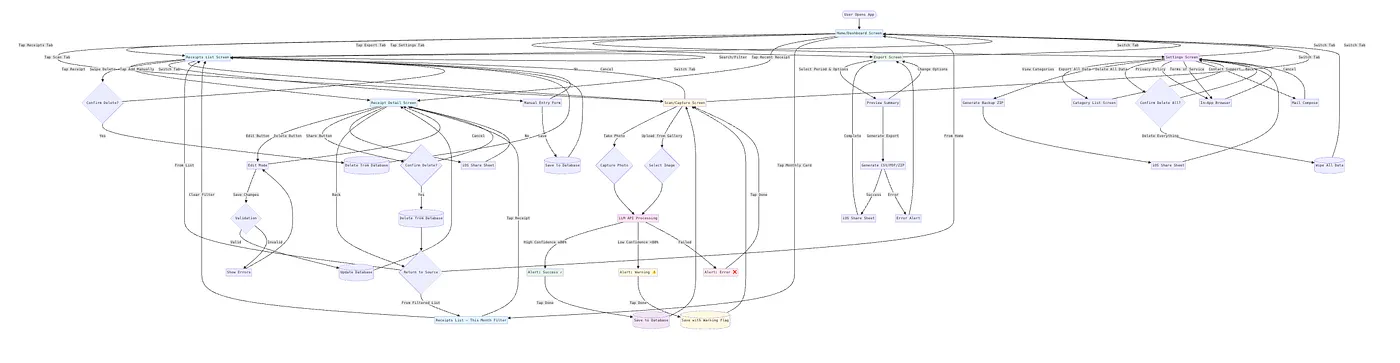
After all that, I create Mermaid flowcharts.
This helps me:
- See the full user flow
- Understand how screens connect
- Spot missing paths or edge cases
This step is mostly for me. If I can’t understand my own flowchart or something is not complete, the app is not ready to be built.
Step 8: Let Cursor Review Everything First
Only now do I create a new Cursor project. I add all files and start a new agent.
My first message is usually something like:
“Please review all project files and ask questions if anything is unclear.”
This step is extremely helpful.
Cursor often points out:
- Missing details
- Unclear logic
- Conflicting rules
Fixing this early saves a lot of time later.
Step 9: Let Cursor Build with Full Context
Once all questions are answered, Cursor creates a to-do list and starts coding. Because it now understands: the product, the user, the rules and flows, the generated code is usually very close to what I want.
It’s not always perfect, but it’s rarely completely wrong.
Step 10: Fine-Tuning Instead of Rebuilding
This is where most of the time is saved.
Instead of building screen by screen, rewriting logic, fixing architecture, I start with a complete base version of the app.
From there, I only fine-tune things which is much easier than building everything manually.
Real Example: Building ThinkPool
I used this exact workflow to build ThinkPool Voice Note App.
ThinkPool is an app where you can record your voice, and the app turns that recording into something useful for example:
- a meeting notes
- a task or to-do item
- a shopping list
- or a simple note
The audio is sent to an LLM, which analyzes the content and returns structured results.
Those results are then shown directly in the app and stored for later use.
The app includes audio recording, LLM-based processing, notifications, widgets for lock screen and home screen, offline queueing when there is no internet, calendar integration, a dashboard that shows statistics like total recordings and recorded time
The first working prototype took about 3 hours. Most of that time went into preparation, not coding.
Bug fixing at the end took around 15 minutes.
Without this workflow, even with Cursor, this would have taken days.
Bonus Tip: Use Cursor’s Plan Mode for Bigger Changes
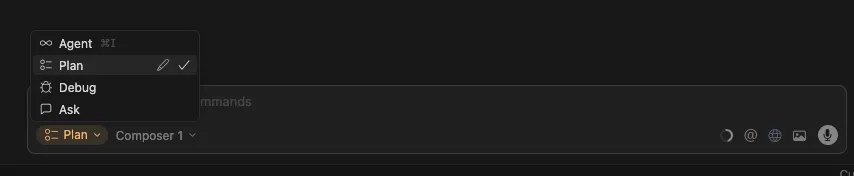
When I need to add or change a complex feature, I use Plan Mode.
I describe the problem, describe constraints, ask Cursor to question my logic.
Only after everything is clear, I press Build.
This avoids half-baked implementations and saves a lot of frustration.
Final Thoughts
Cursor doesn’t make you fast by writing code for you.
It makes you fast when you:
- Think clearly
- Write clearly
- Define rules
- Give full context
Preparation feels slow but it’s the reason everything after becomes fast.
If this helped you, feel free to check my website romankoch.online or the ThinkPool app, which was built exactly with this method.